File Operations
Termix provides powerful file and directory operations with visual feedback, multi-selection capabilities, and intelligent conflict handling. This guide covers all file management features, from basic creation to advanced batch operations.
Overview
All file operations in Termix are designed to be:
- Safe: Confirmation prompts for destructive operations and smart conflict resolution.
- Informative: Clear feedback and progress indicators for single or multiple files.
- Efficient: Optimized for both small files and large, multi-file operations.
- Flexible: Manage single items or select many with Visual Mode.
Creating Files and Directories
Press a to create new files or directories:
- Press
ato enter creation mode. - Type the desired name.
- Press
Enterto create.
Creation Rules
| Input | Result | Description |
|---|---|---|
filename.txt | File | Creates a text file |
script | script.txt | Auto-adds .txt extension |
folder/ | Directory | Trailing slash creates a directory |
path/to/file.md | Nested file | Creates parent directories as needed |
Termix intelligently determines where to create new items:
- If a directory is selected, the new item is created inside it.
- Otherwise, it's created in the current directory.
Renaming Files and Directories
Press r to rename the selected item:
- Select the file or directory.
- Press
rto enter rename mode. - The current name is pre-filled for easy editing.
- Press
Enterto confirm orEscto cancel.
Yank, Cut, and Move Operations
Termix uses a clipboard-based system that works seamlessly with both single items and multiple selections from Visual Mode.
Yanking (Copying) Items (y)
- Select a single item or multiple items using Visual Mode (
v). - Press
yto yank (copy) all selected items to the internal clipboard. - Navigate to the destination.
- Press
pto paste.
Moving (Cutting) Items (x)
- Select a single item or multiple items using Visual Mode (
v). - Press
xto cut (move) all selected items to the clipboard. - Navigate to the destination.
- Press
pto paste.
Yanking a File's Full Path (Y)
To copy the absolute path of an item to your system clipboard for use in other applications:
- Select the file or directory.
- Press
Y(Shift + y). The path is now in your system clipboard.
Progress Tracking
For large files or batch operations, Termix shows detailed progress:
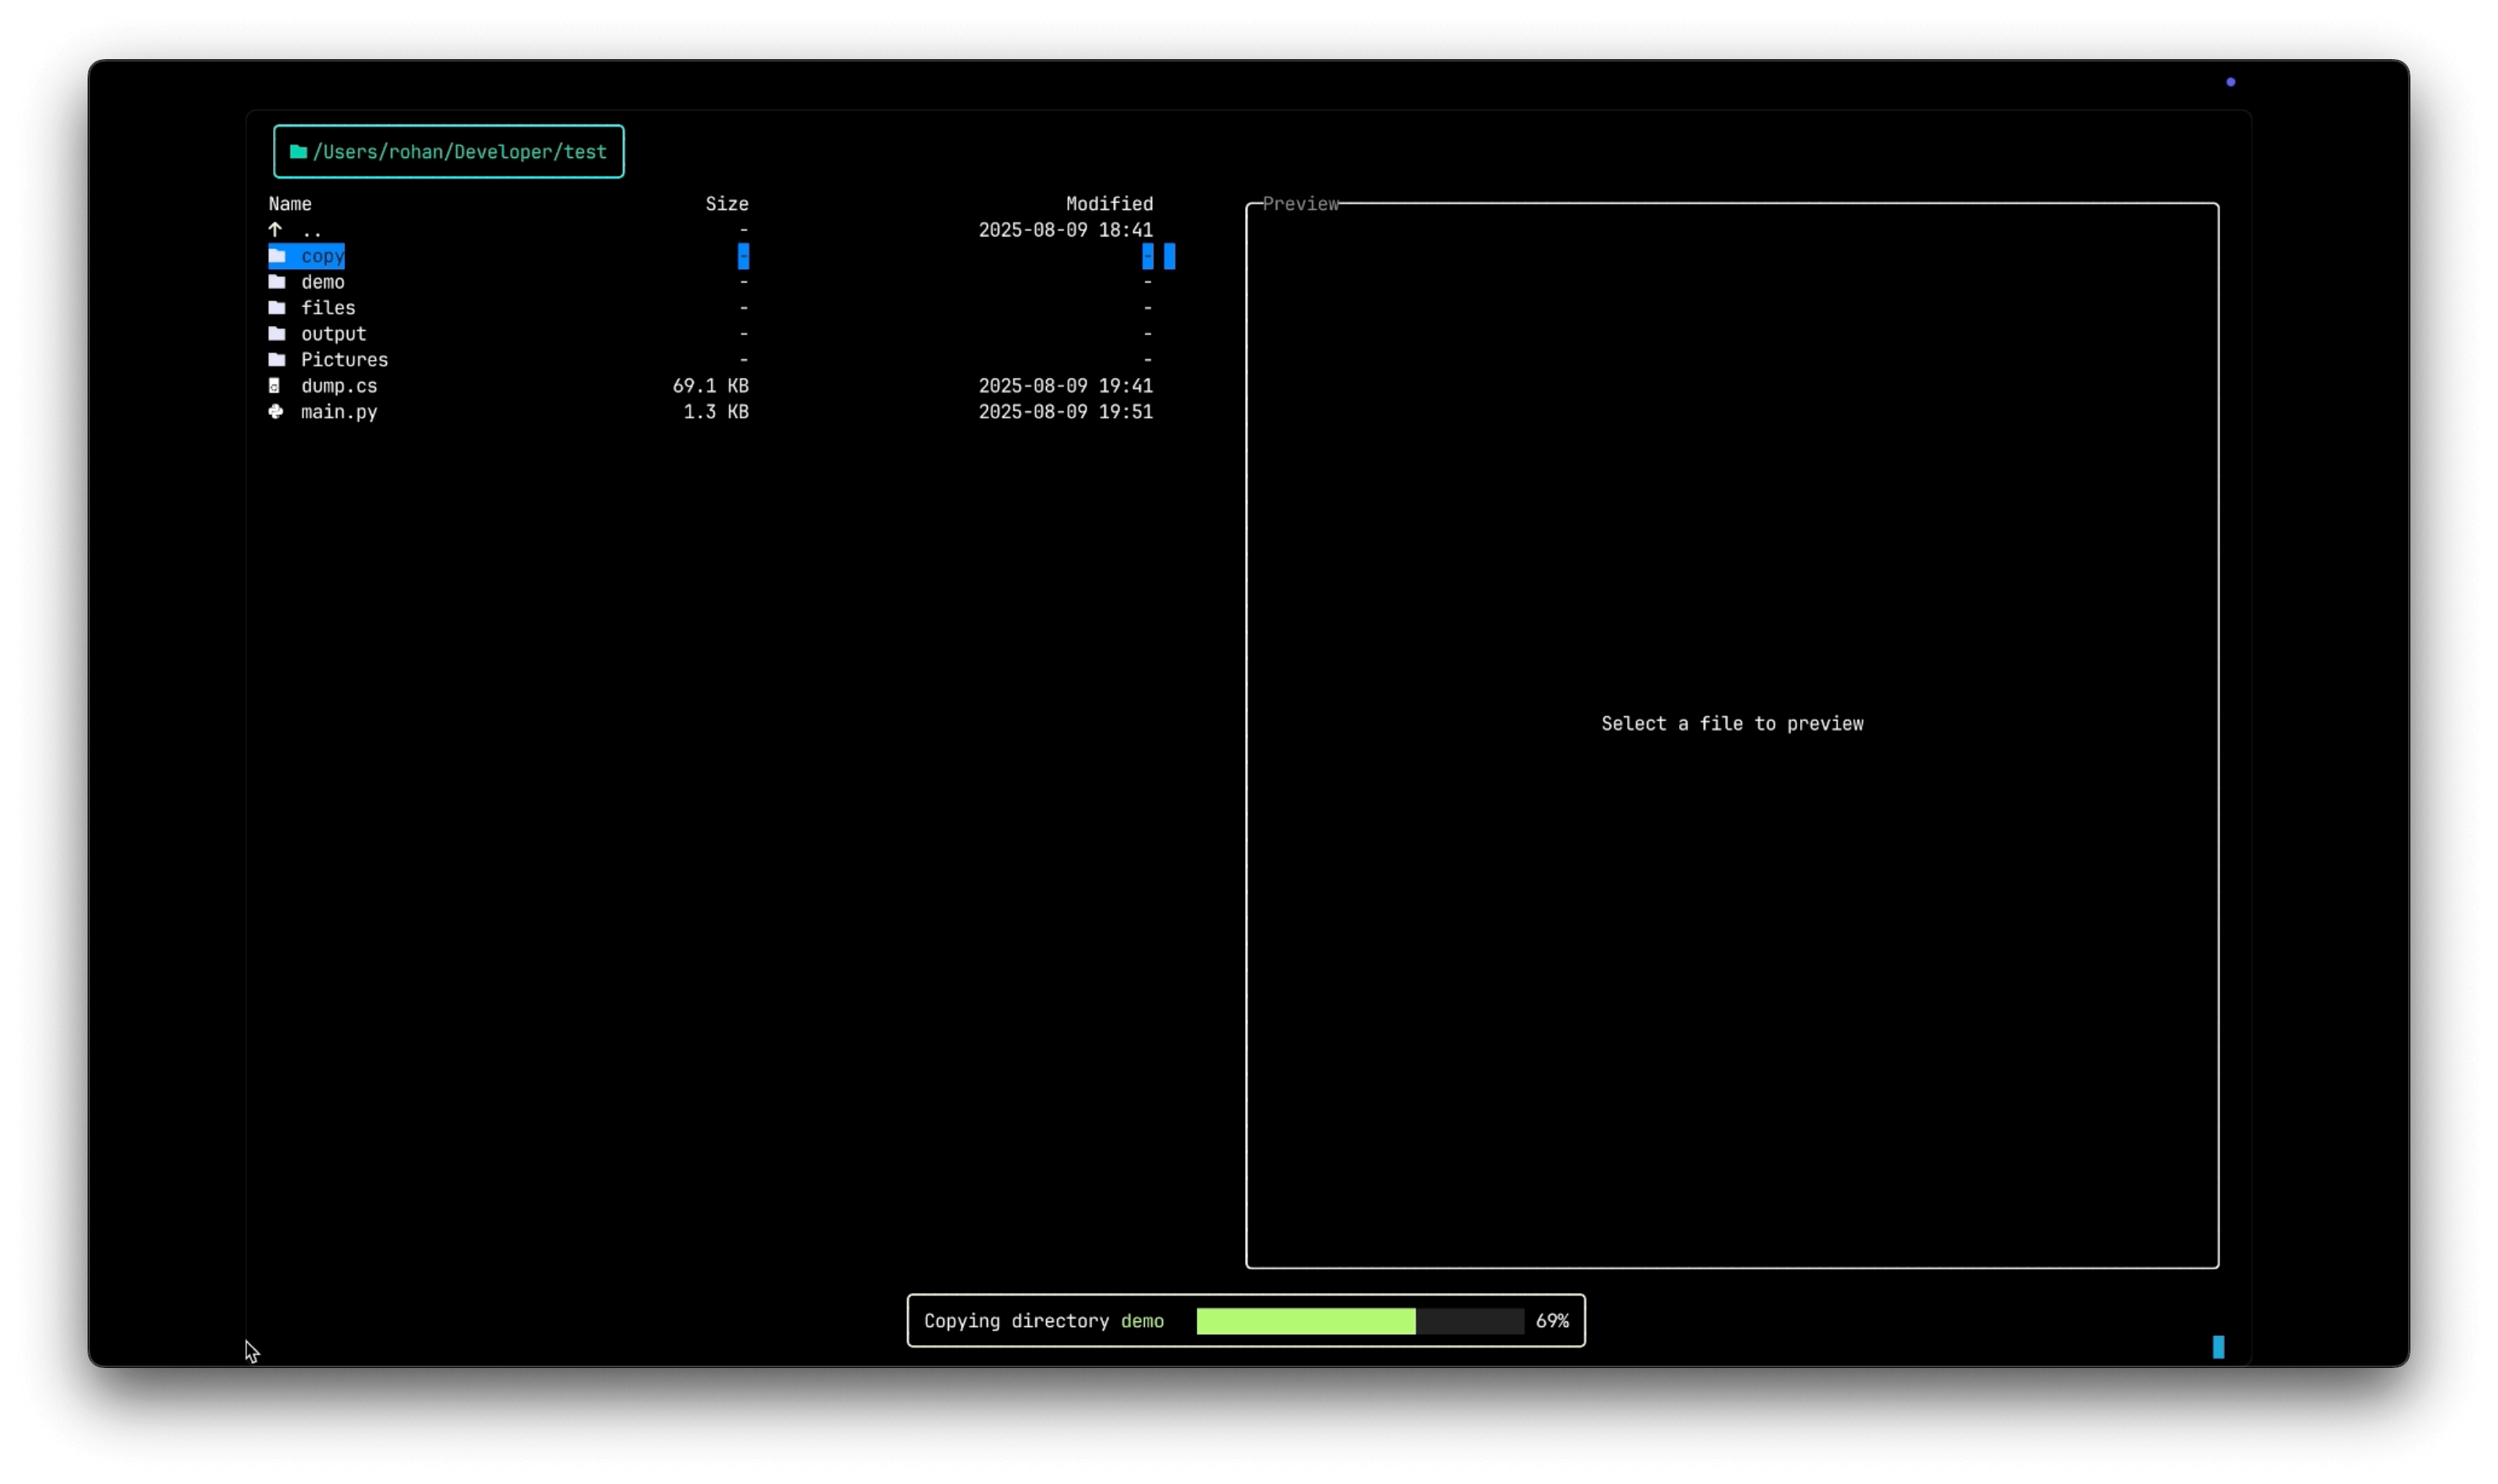
- Progress bar: Visual indication of the total completion.
- Current file: Shows which file is being processed out of the total batch.
- Cancellation: Press
qduring operations to safely cancel.
Advanced Operations
Batch Operations with Visual Mode
Visual Mode is the primary way to perform operations on multiple files at once.
- Press
vto enter Visual Mode. - Select multiple files using the
Spacekey. - Press
y(Yank),x(Cut), ord(Delete) to perform the action on all selected items. - If yanking or cutting, navigate to the destination and press
pto paste the entire batch.
Smart Pasting: Conflict Resolution
When pasting, Termix protects you from accidentally overwriting files. If a file with the same name already exists at the destination, the operation pauses and asks you what to do.
| Key | Action | Description |
|---|---|---|
S | Skip | Skips this one conflicting file and continues with the rest of the batch. |
L | Skip All | Automatically skips any other files in this batch that would cause a conflict. |
R | Replace | Deletes the existing file and pastes the new one in its place. |
A | Replace All | Automatically replaces any other files that conflict during this batch operation. |
Esc | Cancel | Immediately stops the entire paste operation, leaving remaining files untouched. |
Cross-Drive Operations
Termix intelligently handles operations across different drives (e.g., from C:\ to D:\):
- Same drive moves: Uses a native filesystem move, which is instantaneous.
- Cross-drive moves: Automatically performs a copy to the destination, verifies it, and then deletes the original, all with a single progress bar.
Delete Operations
Press d to delete the selected item or items.
- Select a single file or multiple files using Visual Mode.
- Press
dto start the delete operation. - A prompt will ask you to confirm, showing how many items will be deleted.
- Confirm with
yor cancel withn.
Delete Features
- Confirmation required: All deletes require explicit confirmation.
- Batch Deletion: Works with multiple selections from Visual Mode.
- Recursive Deletion: Directories are deleted with all their contents.
Error Handling
Common Error Scenarios
| Error | Cause | Resolution |
|---|---|---|
| Permission denied | Insufficient file system permissions | Check file/directory permissions |
| File in use | Another process has the file locked | Close other applications using the file |
| Disk full | Not enough space for the operation | Free up disk space or choose a different location |
| Invalid name | Name contains illegal characters | Use valid filename characters |
| Path too long | Exceeds filesystem limits | Use shorter names or a shallower directory structure |
When errors occur, Termix provides clear messages explaining the problem, allowing you to correct it and retry the operation.
Status and Feedback
The status bar provides real-time information:
- Operation mode: Shows
VISUALwhen in visual mode, or the current operation. - Clipboard contents: Displays the number of items yanked or cut.
- Progress information: Shows completion status for batch operations.
- Conflict prompts: Clearly displays options when a paste conflict occurs.
Keyboard Shortcuts Reference
| Key | Operation | Description |
|---|---|---|
a | Add | Create new file or directory |
r | Rename | Rename selected item |
y | Yank (Copy) | Yank selected item(s) to internal clipboard |
Y | Yank Path | Yank full path to system clipboard |
x | Cut (Move) | Cut selected item(s) to internal clipboard |
p | Paste | Paste from internal clipboard |
d | Delete | Delete selected item(s) with confirmation |
v | Visual Mode | Enter/Exit mode for multi-select |
Esc | Cancel | Cancel current operation or clear clipboard |